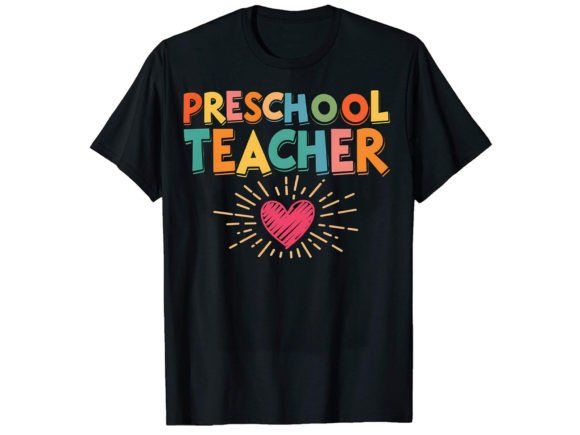
A Designer's Take on the Preschool Teacher Embroidery Design
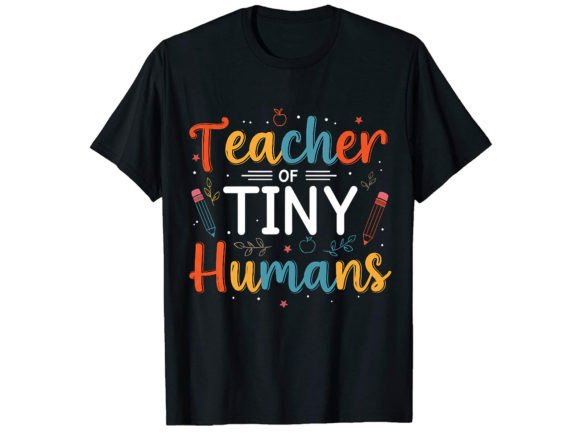
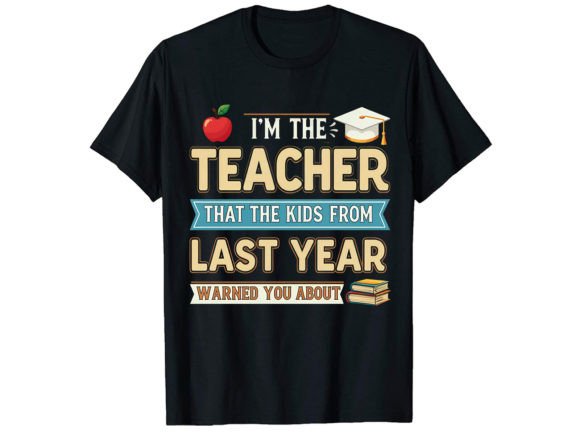
When a new embroidery file lands in my library, my first question isn’t about specs—it’s about character. Does this design have the visual personality to carry a project? With the Preschool Teacher T-Shirt Design, the answer is a warm, confident yes. This isn't just a graphic; it’s a message wrapped in a friendly, illustrative style that immediately suggests its purpose.
The Immediate Mood: Warm, Approachable, and Professionally Playful
The layout and theme here create a specific mood. It feels celebratory and dedicated, perfect for honoring someone in a role that blends care with education. The design avoids being overly childish or too corporate; it strikes a balance that I appreciate. This visual personality makes it a natural fit for projects meant as gifts, recognition items, or branded merchandise for educators themselves. I can already picture it stitched onto a denim jacket for a teacher’s birthday or centered on a tote bag for a classroom volunteer.
A Design Built for Real-Life Stitching Scenarios
Thinking practically, this design’s clean shapes and defined areas are a good sign for embroidery. It should translate well into satin stitches for the bold outlines and fill stitches for the larger interior areas without becoming overly dense. The level of detail appears manageable, meaning it won’t turn into a tiny, tangled mess on a curved surface like a cap. That said, the success hinges on execution.
I’d confidently use this embroidery design for a custom sweatshirt for a retiring teacher, a personalized pillow cover for a classroom reading nook, or a series of embroidered patches for a preschool’s staff. For small business merchandise, like an Etsy seller offering teacher appreciation gifts, it provides a ready-made, professional-looking asset. The included mockup is a smart bonus for creating quick product previews.
Where This Design Requires a Careful Hand
No design is universally perfect. For the Preschool Teacher T-Shirt Design, the small lettering and any intricate decorative accents are the areas that demand attention. On textured fabrics like a sweater or a canvas tote, very fine details can get lost. On stretchy fabric, like a t-shirt neckline, those details could distort without the right stabilizer.
I would be cautious about using it on very dark fabric without a thorough thread color contrast check—some lighter elements might need a bold white or bright underlay to pop. Also, for tiny hoop sizes, you might lose the charm of the overall composition; it deserves a space that lets its friendly scale shine, perhaps on the back of a hoodie or the front of an apron.
How Embroidery Elevates the Design’s Value
The transition from a digital file to physical stitches is where the magic happens for customer engagement. When this design is embroidered, it gains texture and a handmade presence that increases its perceived value. On a baby blanket gifted to a new teacher-mom, the embroidered version feels more personal than a printed one. For a craft business selling at a fair, a well-stitched sample on a tea towel immediately builds trust and shows quality.
The design supports brand consistency for a shop focused on educator gifts—it’s recognizable and theme-loyal. Its giftability is high, and its professionalism, when stitched cleanly, makes it suitable not just for personal projects but for commercial embroidery applications, like boutique-branded staff apparel.
Practical Notes from the Embroidery Hoop
Before loading this file for a client’s order, my routine is simple but non-negotiable. Test on scrap fabric first, using both a light and dark background to judge contrast. Review the stitch density in your software; not all files are optimized the same. Confirm your hoop size can accommodate the design comfortably, preserving those small details.
Inspect the small lettering in a test run—is it clear and legible after stitching? Use the proper stabilizer for your target fabric; a sweatshirt might need a different approach than a kitchen towel. Crucially, check the licensing terms provided with the file. Understanding whether it’s for personal use, commercial use, or both is essential before you sell any finished product or use it in your digital product listings.
The provided PNG print-ready file is great for mockups, but for machine embroidery, you’ll need the actual embroidery file formats. Since those aren’t listed here, that’s the first thing I’d verify—ensuring I have the correct embroidery file for my machine before planning any project.
The Natural Fit: A Design for Celebration and Recognition
Ultimately, the Preschool Teacher T-Shirt Design feels like a design for celebration. Its best real-life scenario? Preparing a custom embroidered tote bag for a preschool team at the end of a school year. Stitched in bright, cheerful threads on a sturdy canvas bag, it would be a tangible, lasting thank-you. It would look polished, convey genuine appreciation, and withstand daily use—the hallmark of a good embroidery project.
For the maker, it’s a straightforward, appealing asset. For the recipient, it’s a personalized emblem of their important work. That’s the kind of practical, heart-forward design that keeps my embroidery machine humming and my clients smiling.