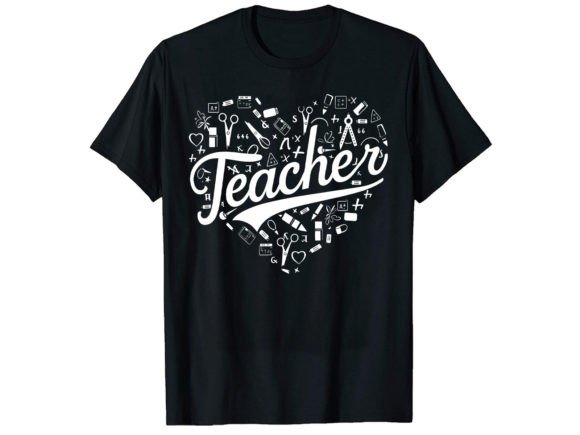
Beyond the Mockup: A Practical Review of the Funny Teacher T-Shirt Design
When a design file lands on my desk, my first thought isn't about the specs—it’s about the stitch. I picture the needle punching through fabric, the thread building layers, and the final product hanging on a rack or being handed to a customer. That’s the lens I’m using to look at this Funny Teacher T-Shirt Design.
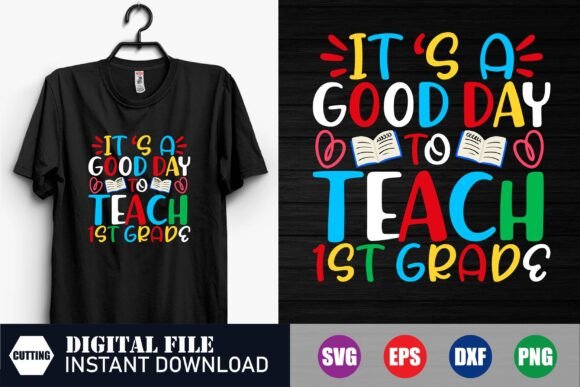
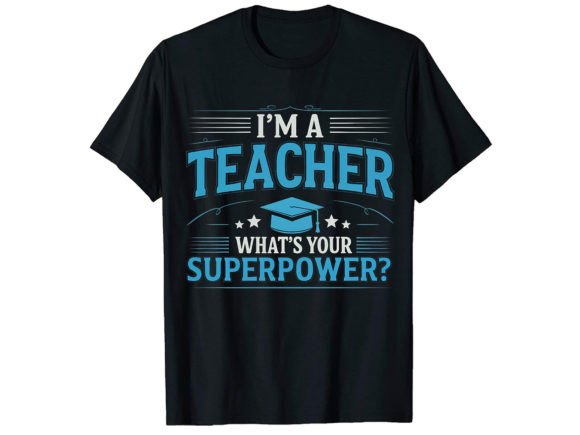
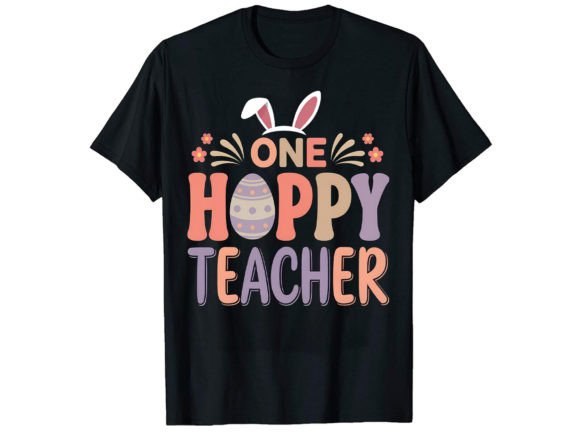
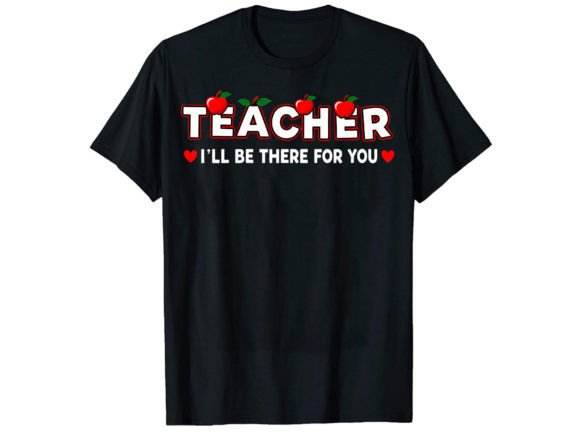
The mood here is instantly warm and humorous. It’s not sarcastic, it’s celebratory. The coffee-centric theme paired with a teacher-focused message creates a personality that’s perfect for a personalized gift or casual apparel. The layout feels balanced for embroidery; the elements aren’t too spread out, which means you can work in a reasonable hoop size without losing cohesion.
The First Stitch: Imagining This Design on Real Projects
Let’s get practical. I’m picturing a specific scenario: a client wants a custom embroidered tote bag for their child’s favorite teacher as an end-of-year gift. This design jumps to mind. The clean, graphic nature of the provided PNG file suggests it would translate well into satin stitch borders and fill stitch areas for the main elements. On a sturdy canvas tote, the stitches would have a lovely, tactile presence.
But a good embroidery design is versatile. Beyond the obvious t-shirt, this has potential on a relaxed-fit sweatshirt for a teacher’s lounge, a cozy pillow cover for a home office, or even a simple tea towel for a kitchen. The theme is universally appreciated, which makes it a safe bet for craft fair products or Etsy listings targeting personalized gifts.
Where This Design Finds Its Natural Home
The beauty of a graphic like this is its adaptability across different product types. For embroidery purposes, I’m considering it for:
- Custom apparel: Think softer cotton t-shirts or heavyweight hoodies where the embroidery can sit as a central motif.
- Home goods: Pillow covers and aprons offer a larger, stable canvas for the design to shine.
- Personalized gifts: Embroidered onto a high-quality kitchen towel or a cozy blanket, it becomes a heartfelt, handmade presentation.
- Small business merchandise: For a boutique focusing on educator gifts or humorous home decor, this could be a consistent brand element across products.
The included mockup is a useful starting point for digital product previews, but the real test is on fabric.
Navigating the Stitching: Practical Considerations for Makers
While the 4500×5400 resolution at 300 dpi indicates a crisp, print-ready file, for embroidery we need to think differently. A high-resolution PNG is excellent for scaling and clarity when digitizing or using as a guide, but your embroidery file’s stitch count and density will determine the final outcome.
Here’s where I’d proceed carefully:
- Small hoop sizes: If you aim to miniaturize this for a cap or a baby item, the smaller details and any lettering need scrutiny. You must ensure your embroidery file maintains clarity when reduced.
- Textured or stretchy fabrics: On thin jersey or activewear, a design with potential dense fill areas might need stabilizer adjustments to prevent puckering.
- Dark fabrics: The visual relies on contrast. You’ll need to choose thread colors wisely—a dark navy on a black sweatshirt might lose impact.
- Curved surfaces: Embroidering this on a cap requires considering how the design’s layout distorts on a curved panel. Simpler, central elements often work best.
How This Design Influences Your Product’s Appeal
Using a design with such a clear, friendly personality directly affects your finished product’s value. It speaks to a specific audience, fostering immediate recognition and engagement. For a customer, an embroidered item with this theme feels like a thoughtful, one-of-a-kind gift, which builds trust in your handmade business. It’s professional in its execution but personal in its sentiment.
For commercial embroidery or selling finished items, always confirm the licensing terms of the original design asset. The provided description suggests broad use, but clarity on commercial sale of embroidered products is essential.
A Designer’s Notes Before You Hoop the Fabric
My routine before any project involves a few critical checks, and I’d apply them all here.
- Test on scrap fabric first. Use a similar material and weight to your final project. This reveals how the stitch density behaves and if any details blur.
- Check thread color contrast. View the design in black and white mockups to understand its form without color. Then, select threads that pop against your chosen background fabric.
- Review the design for both light and dark backgrounds. Some elements may need slight adjustments in your digitizing software if the original PNG is optimized for one scenario.
- Confirm your hoop size. Ensure the physical size you want to embroider is compatible with your machine and that the design details will remain crisp at that scale.
- Use proper stabilizer. This is non-negotiable for achieving clean stitching and preserving fabric integrity, especially on garments.
Remember, the PNG file is your visual blueprint. Your skill in translating it into a well-digitized embroidery file—with appropriate stitch types, underlay, and density—will define the final product.
The Final Impression: A Design Built for Connection
Ultimately, the Funny Teacher T-Shirt Design succeeds because it’s more than a graphic; it’s a message. In the world of embroidery, where every stitch adds time and care, choosing a design with inherent warmth and humor pays off. It elevates a simple t-shirt or tote into a story. For crafters, hobbyists, and small shop owners, that story is what turns a project into a product and a product into a keepsake.
So, if you’re looking for a design that fits naturally into gift-oriented embroidery, custom apparel for a niche audience, or merchandise with a personality, this offers a solid foundation. Your next step is to take that high-resolution blueprint and make it tangible with thread and fabric.